
Java JDK is an essential tool for developers who want to build and run Java applications on their computers. Installing Java JDK on Windows 11 is a relatively straightforward process, but it requires some attention to detail to ensure a successful installation. In this article, we’ll provide you with a step-by-step guide on how to install Java JDK on Windows 11, including tips on how to choose the appropriate version, set up environment variables, and troubleshoot common installation errors.
System Requirements
Before you begin the installation process, you need to make sure your computer meets the system requirements for install Java JDK. These requirements include:
- Windows 11 (64-bit)
- 2 GB of RAM
- 2 GB of disk space
To check if your system meets these requirements, follow these steps:
- Press the Windows key + R to open the Run dialog box.
- Type “dxdiag” in the Run dialog box and press Enter.
- In the DirectX Diagnostic Tool window, click on the System tab.
- Look for the System Information section and check if your system meets the requirements.
How to Download Java JDK on Windows 11
Once you have confirmed that your system meets the requirements, you can proceed with the download process. Follow these steps to download and install Java JDK:
- Go to the official Java JDK website.
- Click on the “Download” button for the version of Java JDK (java development kit) you want to install.

- Accept the license agreement and click on the download link.
- Wait for the download to complete.

Note: The login screen will be displayed. The file must be downloaded, and an Oracle account is required. You may examine the reasons for and instructions for creating a free Oracle account here.
How to Install Java JDK on Windows 11
Now that you have downloaded the Java JDK installer, you can proceed with the installation process. Follow these steps to install Java JDK on Windows 11:
- Double-click on the downloaded Java JDK installer file.
- In the Java SE Development Kit Setup window, click on the “Next” button.

- After clicking on java development kit then Select the destination folder for Java JDK and click on the “Next” button.
- Select the components you want to install and click on the “Next” button.
- Click on the “Install” button to start the installation process of jdk install.
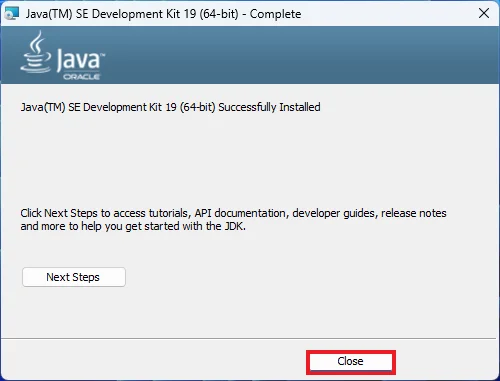
- Wait for the installation to complete of java development kit.


Also read: What is Java Compiler (Javac)?
How to Setup JavAa JDK on Windows 11
After you have installed Java JDK, you need to set up environment variables to ensure that Java JDK can be accessed by other programs on your computer. Follow these steps to set up environment variables:
- Press the Windows key + S to open the Windows search bar.
- Type “Environment Variables” in the search bar and click on “Edit the system environment variables.”
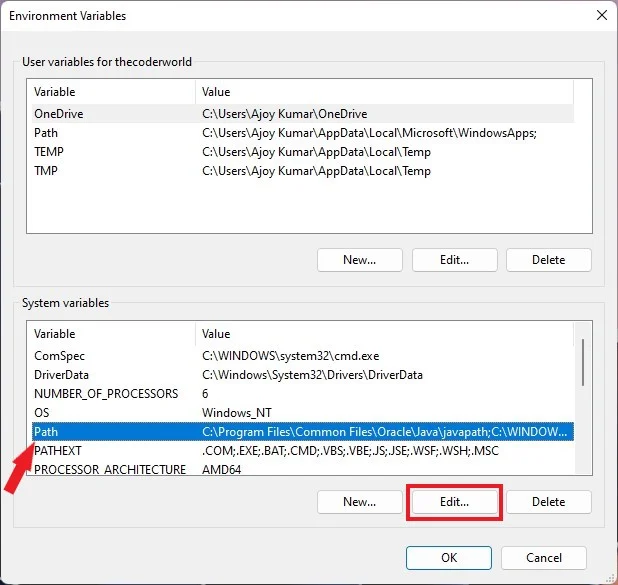
- In the System Properties window, click on the “Environment Variables” button.

- Under “System Variables,” click on the “New” button.
- Enter “JAVA_HOME” as the variable name and the path to the Java JDK installation directory as the variable value (e.g., “C:\Program Files\Java\jdk-16.0.1”).

- Click on the “OK” button to save the changes.

How to Verify Java Installation on Windows 11
To verify if Java JDK is successfully installed on Windows 11, follow these steps:
- Press the Windows key + R to open the Run dialog box.
- Type “cmd” in the Run dialog box and press Enter.
- In the Command Prompt window, type “javac -version” and press Enter.
- If you see the version number of Java JDK displayed in the Command Prompt window, it means Java JDK is successfully installed on your computer.


In conclusion, installing Java JDK on Windows 11 is an essential step for developers who want to build and run Java applications on their computers. By following the steps outlined in this article, you can ensure a successful installation java jdk and set up environment variables to ensure that Java JDK can be accessed by other programs. With Java JDK installed, you can start developing your Java applications with confidence.