Many businesses rely on Microsoft Outlook to streamline their operations, managing everything from meetings to daily tasks. In this guide, we’ll explore how to seamlessly sync your Outlook calendar with your iPhone, enhancing accessibility and ensuring that your schedule is always up-to-date across devices.
This guide, curated by industry experts with a background in technology and organizational management will give you a detailed view of the process of synchronizing your Outlook calendar with an iPhone.
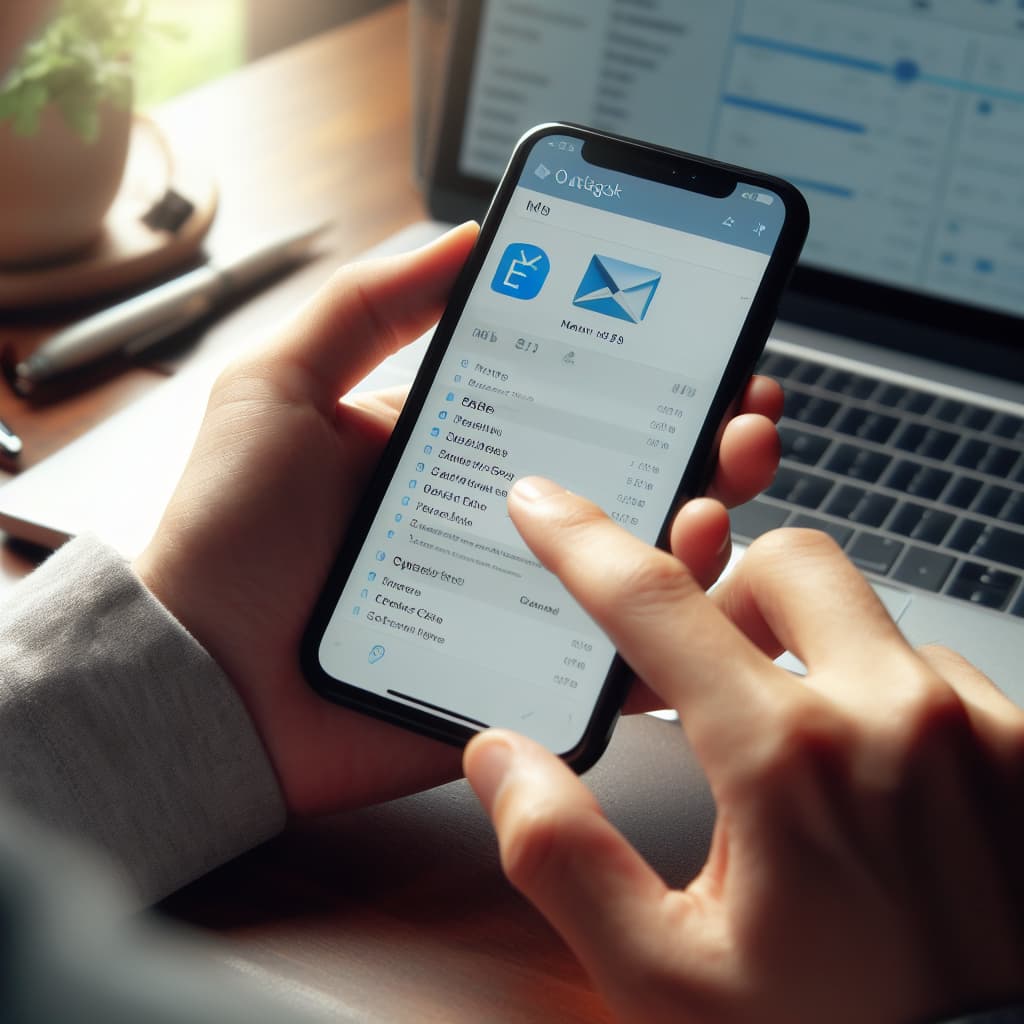
How to sync Outlook
To sync your Outlook calendar with your iPhone, follow these steps:
Step 1: Download Microsoft Outlook for iPhone
Begin by confirming your Microsoft subscription and identifying the connected Microsoft account.
This fundamental step, vetted for its efficacy and reliability, facilitates a smooth synchronization process with your Outlook calendar.
Note for iPad Users: For those utilizing iPads, take note that recent updates for Outlook on iOS have introduced compatibility with iPad Split View.
This feature proves especially valuable for the Outlook calendar, enabling simultaneous email and calendar viewing on a single screen—an efficiency boost we highly recommend, backed by our expert contributors.
Similar read:
- How to Schedule an Email in Outlook
- How To Delete Duplicate Emails In Outlook?
- How to Export Outlook Contacts to Gmail
Step 2: Login and Enable Auto-Sync
Once the Outlook app is downloaded on your iPhone, navigate to the iPhone Settings.
Select “Passwords & accounts” and choose “Add account.”
This process, advocated by industry professionals well-versed in technology and security measures, ensures a secure connection.
Look for the Outlook.com option, input your Microsoft Account details, and confirm the synchronization of calendars. Ensure that auto-sync is enabled for seamless updates across all your devices.
Step 3: Import iCloud Calendar Information (if necessary)
Historically, syncing iCloud information with applications like Outlook posed challenges. However, with advancements endorsed by technology experts, Apple has streamlined this process.
If you have calendar data stored in iCloud that you wish to import into your Outlook Calendar, follow these steps:
- Log in to your iCloud account, using iCloud for Windows if on a PC.
- Check only the box for “Mail, contacts, calendars, and tasks.”
- Choose to sync all information or select specific calendars based on your preferences.
Step 4: Choose Whether to Sync All Calendars on MacOS
When using your iPhone, selectively syncing calendars from Outlook on a Mac proves challenging due to cloud storage. However, you can control the locally stored calendar on your laptop. Manage visibility with the following steps:
- Launch Outlook on your iPhone.
- Select the Calendar icon and then your account icon.
- Uncheck calendars you prefer not to view.
By following these steps, you ensure that any changes made to your calendars—whether on your PC or iPhone—are instantly reflected across all your devices. This eliminates the need for manual resyncing after each update, making your Outlook calendar management seamless and efficient.
Conclusion:
In conclusion, mastering the synchronization of your Outlook calendar with your iPhone is a strategic move toward a more organized and streamlined daily life. The careful execution of each step outlined in this guide ensures that your calendar remains a reliable tool for managing both professional and personal commitments.